BMW E36 Subframe re-enforcement
Got my re-enforcement plates for subframe mount on E36 chassis. These will require you to drop your whole subframe out of the car, to get proper room for welding those plates in to your chassis.
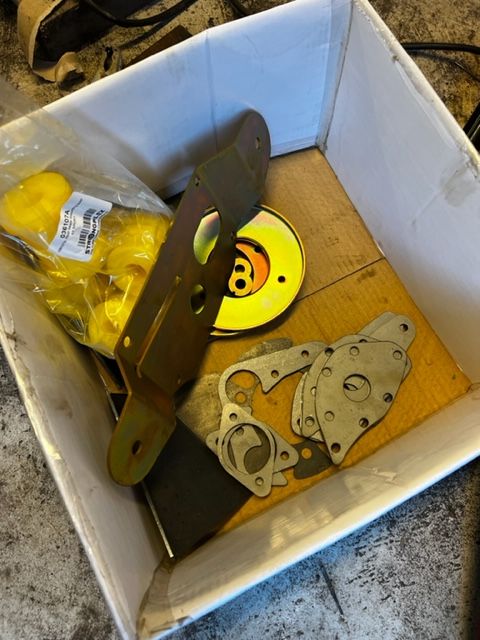
Kit consists from 8 plates in total.
2 of them are for your rear shock mounts on chassis, a spot known to be prone to crack over time.
2 of other ones for your longitudinal arms, that mount in their pockets. Not really seen that these would tear of in a street car, but better safe than sorry.
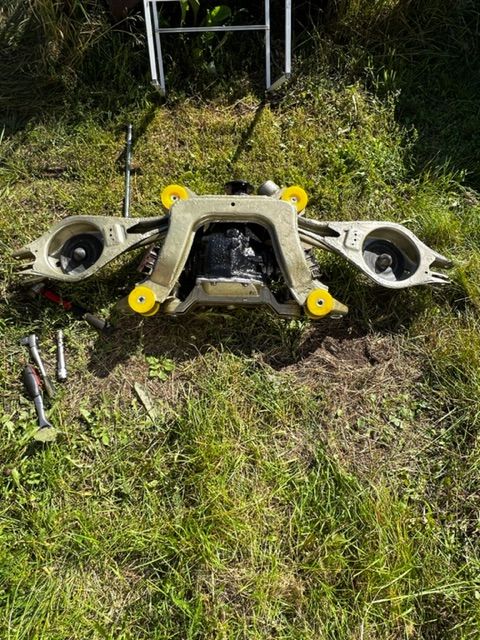
Then the last 4 plates are for sub frame mounts.
All of the plates are cnc cut from 3mm steel plate. You can either TIG or MAG weld them on to your chassis. Just make sure you clean both surfaces really well and seal them properly afterwards.
When you are doing these plates, it would be a good time to renew your bushings in the sub frame. As now they are easy to access. I will be going from rubber oem bushes to Strongflexes polyurethane bushings.
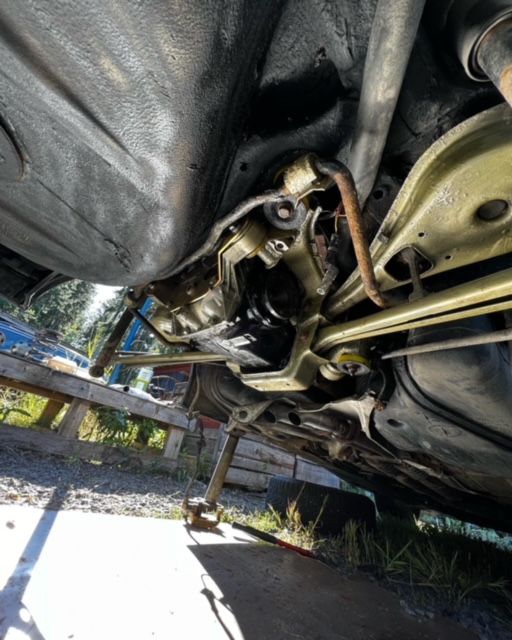
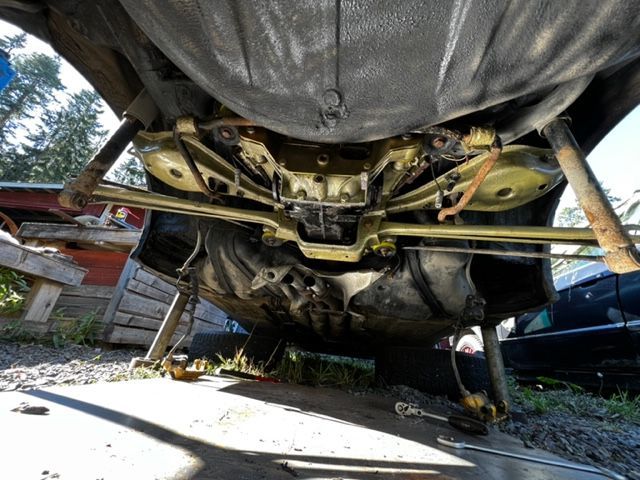
First I started by removing all the easier components of the drive train. Such as brake discs, calipers, handbrake cables, driveshaft and axles. After these were removed I took out the longitudinal arms. This made removing the sub frame it´s self a lot more easier as this whole project was done on a driveway. A little tip for you guys, rear brake calipers aren´t required to be disconnected from their hoses just undo two 10mm bolts from longitudinal arm and you can get them out of your way. This way you don´t have to bleed the system after re-install.
Now that we got a lot of the weight of the sub frame it should be easier to manipulate it down. In my case two front bushings were so shot that when removing the two nuts holding them on. The inner bushing sleeve came with the bolt and nut. Rears were a lot easier as they just unbolted fairly easily.
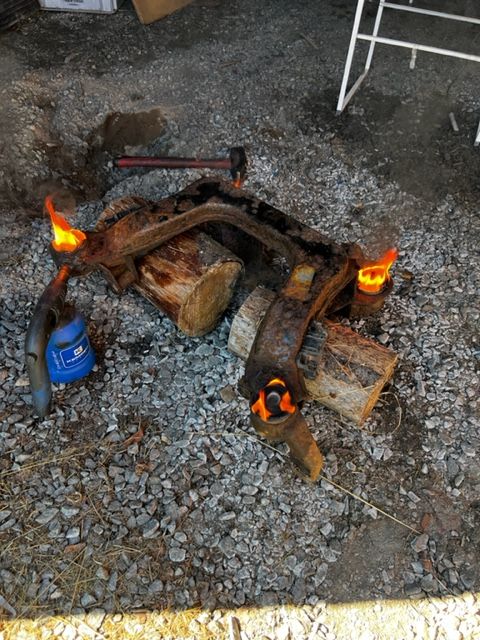
When everything was off the car, started by removing old rubber bushings. Without a press this meant propane torch and burning them off. Took awhile longer but did get them out.
Pressing the new poly urethane bushings in was easy with use of supplied grease and rubber mallet for the inner aluminium sleeve.
After the new bushings and inspecting other wear components, I gave everything a good clean and then a lick of Hammer rite paint to protect it and look better than old rusty parts.
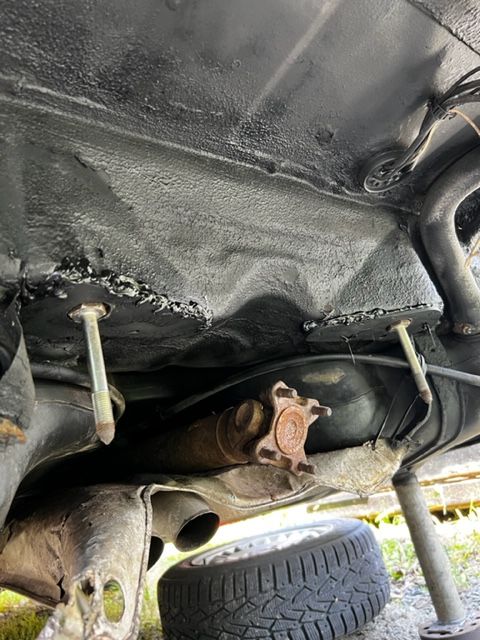
Welding the re-enforcement plates on to the chassis was pretty straight foward. Firstly cleaned off all rust, and inspected for any cracks. Then mocked up the plates, and tacked them on. After this got few soaked old towels and protected all important areas with them. Mainly the fuel tank. You could also drop it, but mine was quite full and few connectors looked too brittle to mess around with.
Didn´t weld the re-enforcement plates fully. Only stitch welded out side and plug welded the holes in them. Then gave them heavy coat of sealer, with following coat of paint to keep rust away.
Re-install was pretty much the same as removal but order reversed obviously. Making sure to measure wheel alignments and camber angle to closely match where it was. It is recommended to take the car to alignment shop after messing with suspension components.